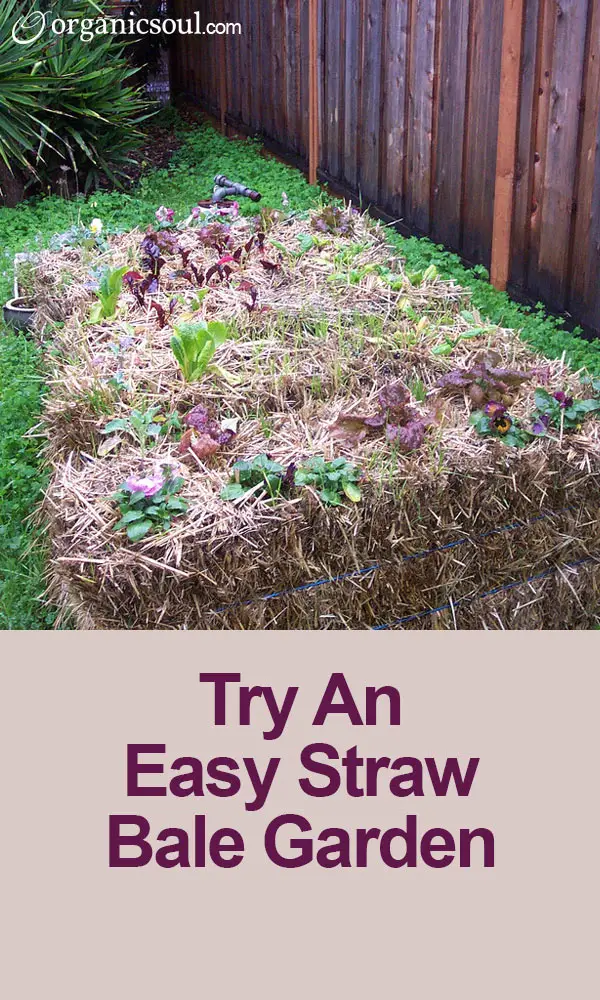
Adding a straw bale garden to your landscape is one of the easiest ways to elevate a garden bed and effortlessly enhance the soil underneath. Technically, straw bale gardening is a method of outdoor hydroponics that uses straw, hay or even mixed grasses as a growing medium. The straw retains moisture and nutrients, making them available to the plants.
Like Organic Soul on Facebook
Advantages Of A Straw Bale Garden
If you have inhospitable soil and don't want to spend a fortune on amendments, putting down some straw bales can get your garden going faster. Over a couple of seasons, worms will be attracted to the moist, nutrient rich environment under the bales and begin transforming poor, compacted soil without your having to lift a spade or rent a tiller. You'll have better soil naturally and be able to use an easy raised-bed option in the meantime.
If you or someone in your family loves to garden but is physically challenged, the approximate 16-inch minimum height of most straw bales makes them easier to enjoy and maintain for folks with limited mobility. They're also a great height for wheelchair access.
Don't have much of a garden but want to do something with your old, cracked patio? Adding a straw bale garden to concrete isn't a problem if the area has a slope for good drainage. Instead of investing in expensive plant pots that dry out quickly, a few strategically placed straw bales will allow you to cultivate tomatoes, watermelon, peppers, cucumbers, herbs and even potatoes in style.
Starting A Straw Bale Garden
Straw bales are available at many home improvements centers during the spring season. If you can't find them there, try a dedicated garden center or ask around your farmers market.
Here's How It Works:
- Conditioning – Conditioning straw bales will take a month to six weeks. They weigh about 30 pounds each when dry and easily double that once they get wet, so putting them in place before soaking them is important. Once they're wet, keep them that way.
- Quick method – You can accelerate the conditioning process by adding fertilizer in a couple of applications over ten days. Add about a half-cup of high nitrogen fertilizer (34-0-0) sprinkled on top of each bale, and water it in thoroughly. In three days, apply a quarter-cup using the same method. Keep the bales uniformly wet. You'll know that the process is working when the internal temperature spikes at around 140 degrees F.
- Preparation – Your straw bale garden will be ready for planting when the internal temperature of the bales drops to just a few degrees above the air temperature. Ma
 ke sure to add some good vegetable or flower fertilizer before planting day too. Remember, you're providing all the nutrients to the plants. They're just using the straw bales as real estate. Some gardeners top dress the bales with two or three inches of potting soil. It isn't necessary though unless you're starting with seeds and want to protect them from hungry birds.
- Layout – Organize your layout for two large or three small plants per bale, and stick to a regular watering and fertilizing schedule. For the first month, watering daily is important. As the plants' roots become established and the straw continues to deteriorate, you'll need to water less often.
Your straw bale garden can look pretty spectacular without much weeding or work. Try growing tomatoes and peppers on top of a bale with marigolds along the sides. How about a squash plant growing up the stem of a sturdy and eye catching sunflower? For a flexible, no fuss raised garden, nothing beats straw.